How to Plan Your First Camping Trip
Plan your first camping trip in order: trip type, place, dates, rules, forecast, then a checklist you can tick off.
On this page
A first camping trip feels big because everything seems to need a decision at once: where to go, which dates, what to bring, and what happens if it rains. Most of those choices depend on two earlier ones, the type of trip and the campground. Settle those first and the rest gets smaller.
This guide puts the decisions in the order that works. You will pick a trip style and a place, book your dates, check the rules and the forecast, and turn everything into a list. Each step points to an official source, because campground rules vary and the agency that manages your site has the final word.
The running example is a two-night trip for two adults and one child at a drive-up campground. Swap in your own numbers as you go.
Step 1: Choose the trip type and the place
Start with the simplest type. The National Park Service (NPS) describes most park camping as frontcountry camping: you drive to an established campground, and each numbered site has marked parking and a picnic table. Backcountry camping means going past the campground and relying on your own skills. NPS calls planning for it “critical” and says it is not for everyone. For a first trip, a drive-up campground keeps the skill load low. The types of camping article compares all the options, and car camping for beginners covers the easiest one in detail.
Next, define the trip. NPS asks you to identify four things before you commit:
- Setting: beach, desert or forest.
- Time of year: hot and humid, or cold with possible snow.
- Difficulty: whether you can drive to the site or must hike, and whether everyone can manage it.
- Duration: this decides how much food, clothing and supplies you pack.
Then pick a place that fits. A national park campground, a national forest campground and a state park campground all work for beginners, and the rules differ between them. Read how national park campgrounds work or why a state park is often an easy first choice.
Read the campground page before you fall for the photos. NPS says to check water availability, where campfires are allowed, group size limits, showers and flush toilets, food storage rules, and whether you need a reservation. Some campgrounds are “primitive,” and may have only vault toilets and non-potable water, or no water at all. NPS also warns that you will not always have a cell signal, so write down the address and route before you leave.
Step 2: Pick dates and book the site
NPS says reservations may need to be made months ahead, often through Recreation.gov. Booking windows differ by campground. One Blue Ridge Parkway page says reservations can be made up to six months in advance. A national forest campground listing on Recreation.gov, used here only as an example, says reservable sites must be booked at least five days ahead and lists a two-night minimum stay on weekends. Your campground may use different numbers, so read its own page. The guide to reserving on Recreation.gov walks through the booking screens.
Some sites are not bookable at all. NPS notes that some are reservable by phone or Recreation.gov, while others are first-come, first-served. For a first trip, a reserved site removes one big unknown. If you do want to try walk-up camping, read first-come, first-served vs. reserved campsites first.
Choose dates with a margin. NPS advises making camp before dark and learning the terrain in daylight, so plan to arrive with hours of light left.
Step 3: Check the rules and the forecast
NPS tells you to review the park’s Plan Your Visit section and look up permits, regulations and group size restrictions; trail and site conditions; food storage and disposal rules (some parks require a bear box or bag); fire rules; and pet rules. Fire rules matter most for beginners: some parks ban open fires at certain times, so you may need a camping stove instead. The campfire rules and fire restrictions article explains how to check.
For weather, the National Weather Service home page has a local forecast box where you enter a city and state or a ZIP code, plus a list of active alerts. Look a few days out, then again the day you leave. Have a backup plan, because NPS says not to push through with your original plans if they are no longer a safe course of action. How to read a weather forecast before you camp covers what to look for.
Step 4: Build your list and share the plan
Open the Planner, choose your trip type, nights, number of people, season and how you will cook, and it builds a checklist grouped by category. Print it or tick items off on screen.
NPS also says to test your equipment before the trip. Practicing a tent setup at home is recommended, and a backyard practice run is the easiest way to do it. When you pack, how to pack for camping shows how to organize the car.
Last, tell someone. NPS says to name an emergency contact who is not on the trip and leave that person an itinerary. The itinerary should include:
- names and contact information for everyone in your group,
- vehicle make, model and license plate,
- start time and location,
- route and planned activities,
- expected finish time, and
- the park’s emergency phone number.
The simple trip itinerary article gives a fill-in version.
| Step | What you decide | Where to check |
|---|---|---|
| Trip type | Car camping, backpacking, RV or backyard | NPS camping pages |
| Place | Park, forest or state park campground | The campground’s own page |
| Dates and booking | Nights, arrival time, site | Recreation.gov or the park site |
| Rules | Permits, fires, food storage, pets | Park Plan Your Visit page |
| Forecast | Go, adjust or postpone | weather.gov local forecast |
| List and plan | Gear and itinerary contact | The Planner |
Common mistakes
- Booking before reading the campground page. Water, showers and fire rules differ from site to site.
- Planning for the best day only. Without a backup plan, a change in weather becomes a crisis.
- Packing for the trip you imagine. Pack for the nights you actually booked.
- Arriving after dark. Setting up unfamiliar gear with a headlamp is harder than it sounds.
- Skipping the test run. A missing tent pole is easier to find at home.
- Counting on cell service. Download or write down directions and the campground phone number ahead of time.
Frequently asked questions
How far ahead should you book?
It depends on the campground. NPS says reservations may be needed months ahead. One example park opens bookings six months out, while an example national forest listing only requires booking at least five days ahead. The campground’s page on Recreation.gov or the park website lists its own rule.
Do you need a permit to camp?
Check the park’s Plan Your Visit page. NPS lists permits, regulations and group size restrictions as items to research, and it says backcountry campers should check ahead for necessary permits.
How many nights should you book?
Pick the number that fits your distance, weather and experience. The article on how many nights your first trip should be compares one, two and three nights.
What if the forecast turns bad?
Follow your backup plan. NPS also suggests asking a ranger or campground host on arrival about forecast rain, wind, snow or extreme temperatures that could affect your plans.
Next step: build your checklist
You now have the order: trip type, place, dates, rules, forecast, list. Open the Planner and build the checklist for your first trip, then read what to expect on your first night so the evening holds no surprises.
Sources
Official pages used for this guide. Rules vary by place and change often, so check the page for your campground before you go.
- Camping Safety: Before the Trip, National Park Service. Accessed November 6, 2026.
- Frontcountry Camping, National Park Service. Accessed November 6, 2026.
- Finding and Setting Up a Campsite, National Park Service. Accessed November 6, 2026.
- Camping Safety: Upon Arrival, National Park Service. Accessed November 6, 2026.
- National Weather Service, National Weather Service. Accessed November 6, 2026.
- Campground Regulations (example park), National Park Service, Blue Ridge Parkway. Accessed November 6, 2026.
- Christmas Meadows Campground (example listing), Recreation.gov. Accessed November 6, 2026.
Keep reading
Camping Basics
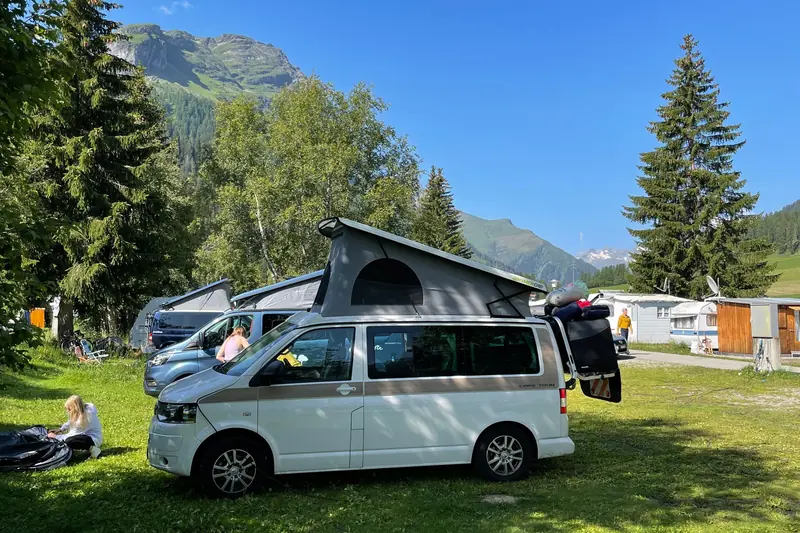
Types of Camping Explained: Car, Backpacking, RV and More
Car, RV, backpacking, dispersed and backyard camping compared, with the official rules that set them apart.
Camping Basics
What to Expect on Your First Night Camping
A timeline of your first night at a campground: arrival, setup, dinner, quiet hours, a cold night and the morning.
Camping Basics
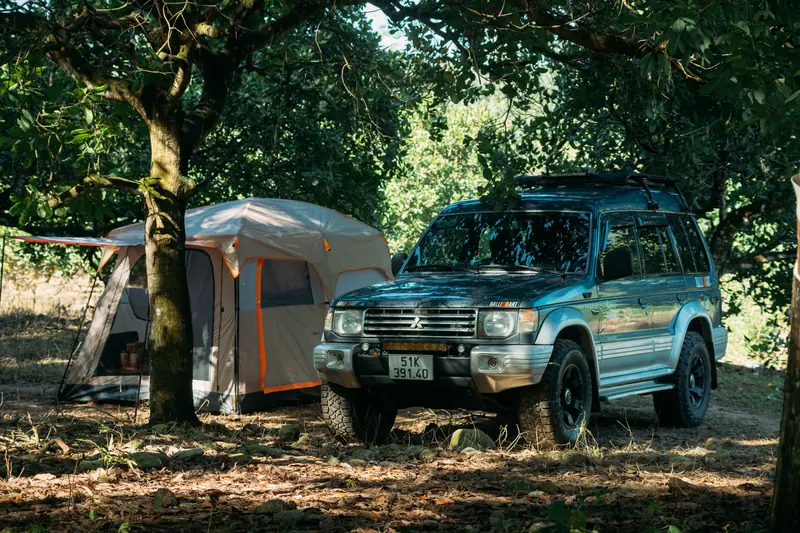
Car Camping for Beginners: A Simple Starter Guide
Drive-up camping is the simplest start. See how it works, what the car changes and which campground rules to check.